
 What you’ll need
You will need the following components and tools to complete this install:
- 4G Modem
- Small Flat Head Screwdriver
How to install
Follow the instructions below to complete the installation:
- Please unplug the modem from the power point
- Please unscrew both antennas from the modem and unplug the ethernet cable
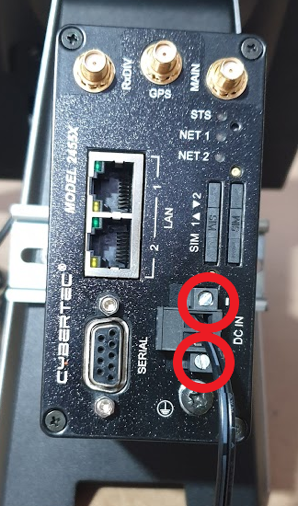
- Using the flat head screwdriver, loosen the screws holding in the power cable and remove
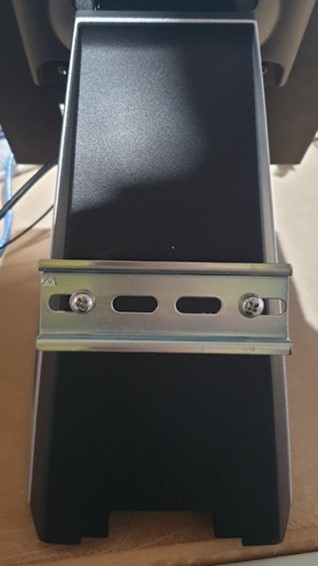
- Slide the modem off the din rail.
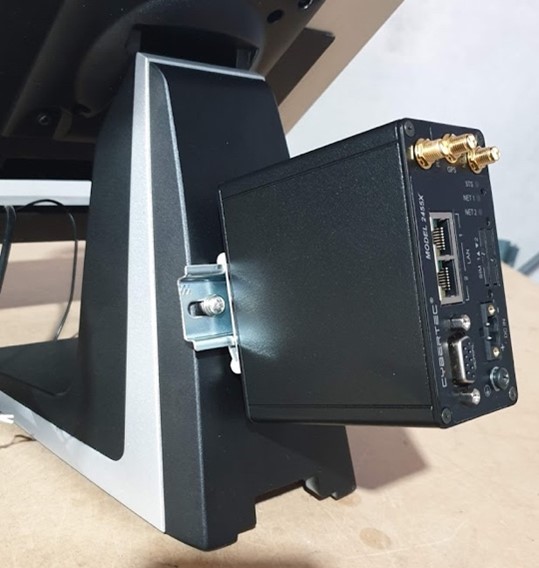
- Attach the replacement modem to the din rail
- Reconnect the ethernet cable, screwing in the antennas in the Main and RxDIV connections (circled below)

- Plug the power back in and using a small flat head screwdriver tighten the screws so that the power cable is firmly attached
- Please plug the modem power cable back into the power point.
- It will take the modem a few minutes to power up and make a connection. Once online the STS light will turn solid green and the NET1 or NET2 light (depending on which ethernet port is in use) will be solid green or flash intermittently green.
What to do with the replaced components?
Please arrange to ship the replaced components to:
Damstra Technology c/o Phoenix EMS
2/8 Nelson Rd,
Cardiff NSW 2285
Ph: 1300 074 636
You can use the same box and packing materials that the replacement components were sent to you using.

Comments
0 comments
Please sign in to leave a comment.