
 What you’ll need
You will need the following components and tools to complete this install:
- DT-VTMK2 Bracket
- Phillips Head Screwdriver
How to install
Follow the instructions below to complete the installation:
- Turn off all power to the terminal
- Unplug the terminal from mains power
- Place the terminal screen down on a soft surface to prevent scratching of the touchscreen, also ensuring the camera is appropriately angled to avoid placing weight on it
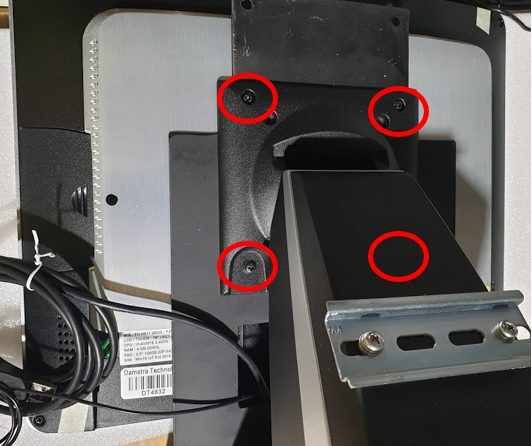
- Locate the circled screws and remove them, be careful to ensure no parts slide away as the last screws are removed
- Lift the stand and place it aside
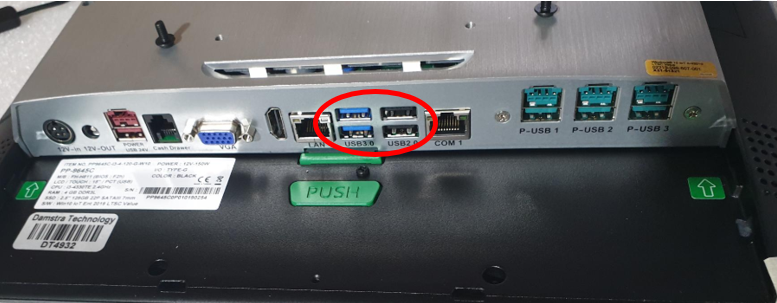
- Lift the existing Bracket and disconnect any USB connections which attach to the Bracket
- Place the Bracket aside,
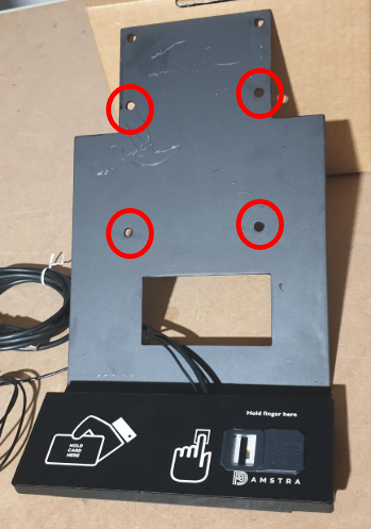
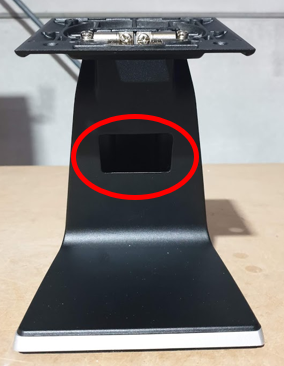
- Take the USB connections from the replacement bracket and plug them into the terminal, then place so that the circled holes line up with the back of the terminal while ensuring no cables are pinched
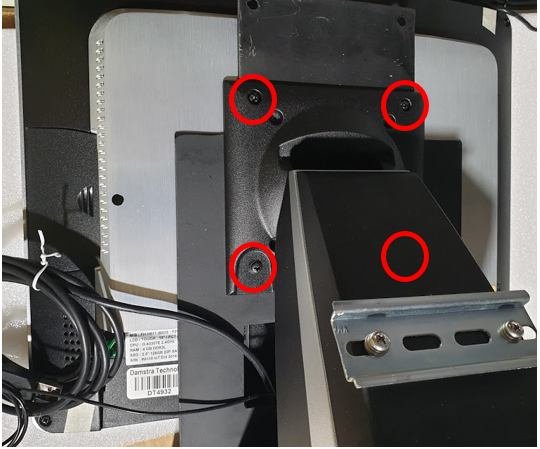
- Place the stand also in line with the existing holes
- Replace the four screws into the circled locations, Note: the two screws with wide tops are for the bottom two holes
- Place the terminal upright again
- Tuck any excess cable away into the stand for tidiness
- Reattach terminal to mains power
- Turn on power to the terminal
What to do with the replaced components?
Please arrange to ship the replaced components to:
Damstra Technology c/o Phoenix EMS
2/8 Nelson Rd,
Cardiff NSW 2285
Ph: 1300 074 636
You can use the same box and packing materials that the replacement components were sent to you using.

Comments
0 comments
Please sign in to leave a comment.